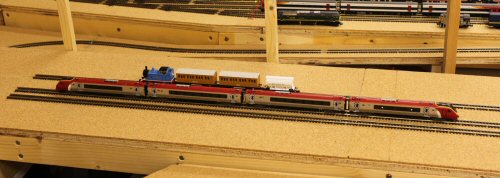
The railway comes to town! Overnight the residents of Clanfield have awoken to find a new terminus station for their village. They were disappointed however to find that the power cables had not been laid, so trains could not come to the station yet!
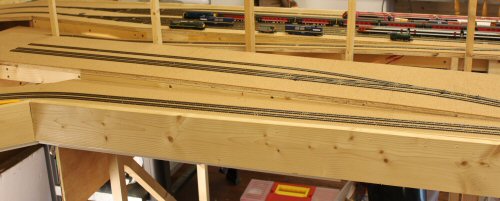
After about a 2 year absence - during which we worked out how to power and control the railway - more track has been put down. The "Clanfield" terminus station only took a day to lay the track (3 platforms, 5 points). The dropper wires are all insulated and terminated with crimp connectors; the next item on the agenda is the point motors, then the feeder wires. All the electronics is already in place, so very little "infrastructure" work is needed.
The biggest headache was actually printing the wire labels. I have a sheet of clear sticky labels with a white panel; the idea is that you laser print the markings required onto a whole sheet at a time I duly created a page of labels, put the sheet into the manual feed on the printer and selected "print"... and forgot to tell the printer that it was handling labels, not paper. It shot the page in very quickly, depositing plastic labels all over the inside of the printer as it went. In sorting out the mess, I made a larger one with a pool of toner appearing on the floor... oops.
The wiring followed what is now a well established process. All the electronics was already in place; it was simply a case of putting crimp connectors on the track dropper wires, then connecting up.
The one deviation from "normal" is that I decided to use Tortoise point motors for this station. I've had some issues with Seep motors (notably the switch on the PCB sometimes not making contact). The Tortoise is physically much larger, and of course a lot more expensive - but this was an opportunity to give them a go. The wiring section has some notes about installing them.